
Petri dish is popular lab equipment that is used by biologists for cell culture. If you aren’t aware of what it is or how it works, then continue reading as we will provide you with all the insight you need.
Petri dishes are shallow cylindrical containers that contain fitted lids. The dish finds its purpose, particularly in labs and testing. The design of the petri dish makes it suitable mainly for microbiology or cell culture usage.
The following are some of the uses of Petri dishes:-
- The most notable use of it is to culture cells. The scientists provide cells with the appropriate environmental conditions and food, which assists them in growing within a particular medium.
- You can observe the growth of microorganism on it
- The size allows us to keep it under a microscope and observe, dissect the sample for more studies
- You can use it to observe seed germination in school labs
Material of Petri dishes
The manufacturing of Petri dishes is mainly with two types of material which are plastic and glass. The major benefit is that you can easily sterilize both types of Petri dishes and reuse them. However, there is one thing that you need to remember before reusing them. It’s that before any reuse, you need to ensure that the dishes are clean and sterilized with the suitable disinfectant, which would ensure that there is proper prevention from any contamination of a new culture.
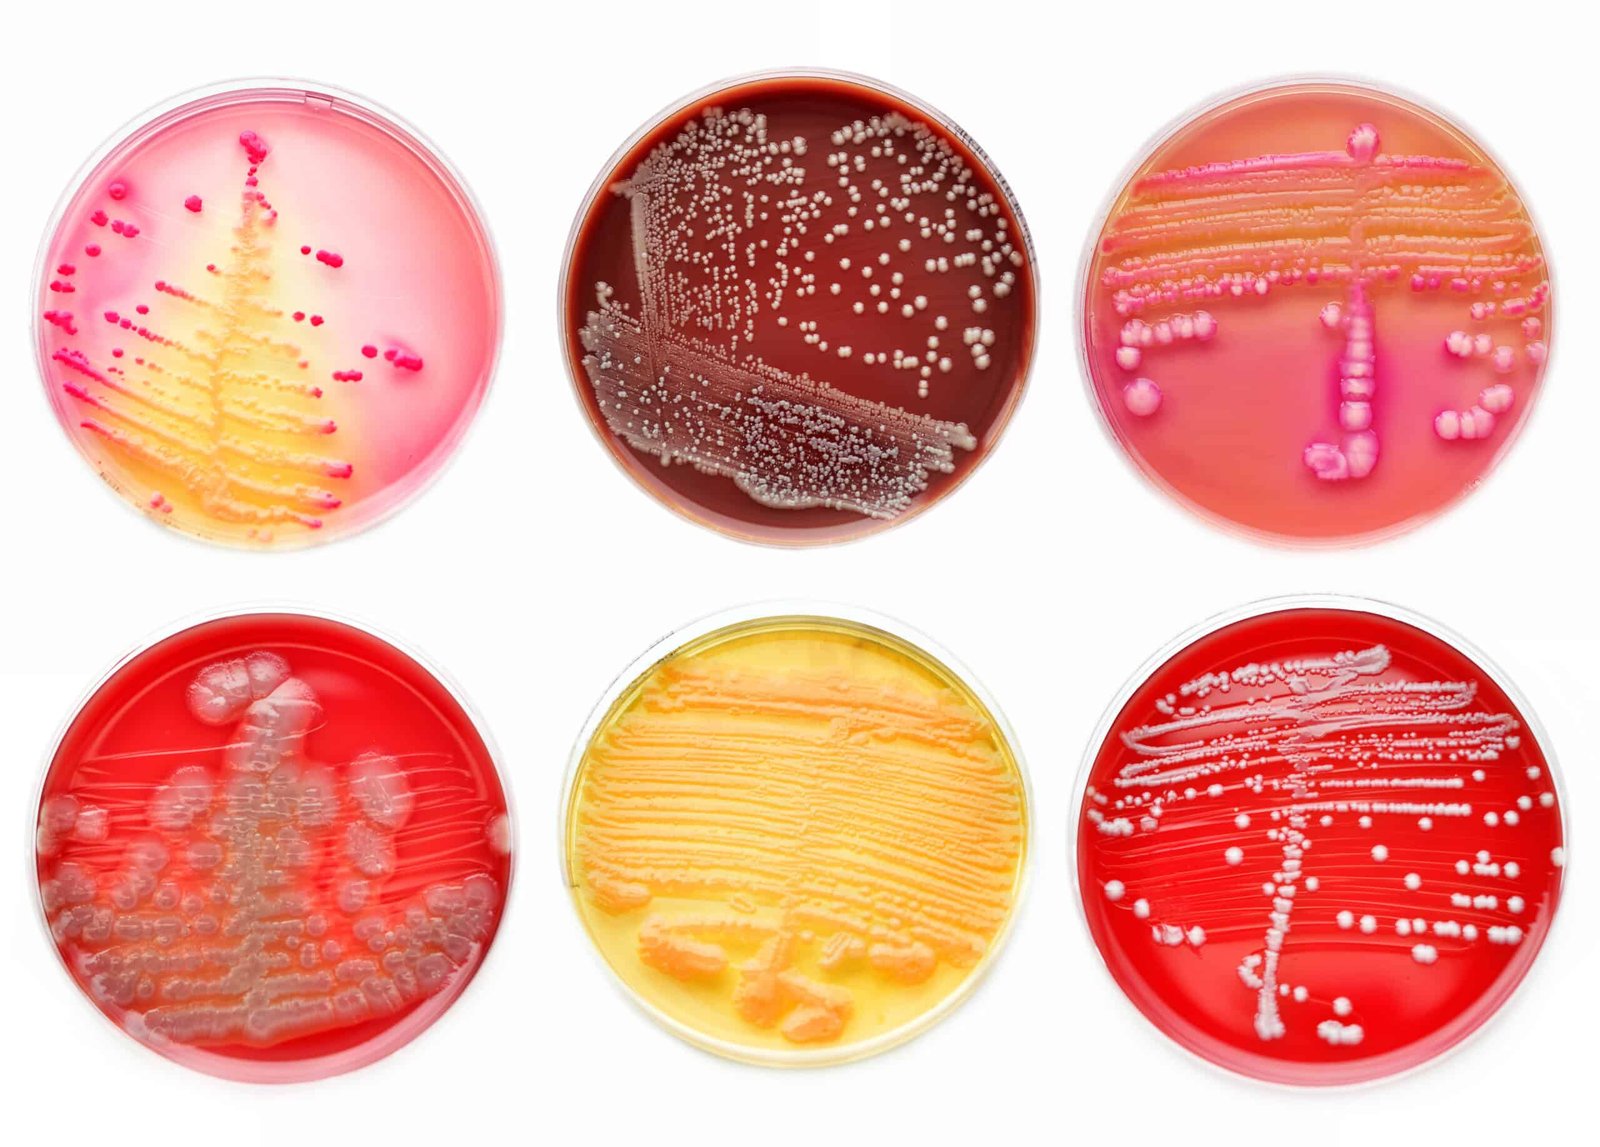
Process of Bacteria Culture
Bacteria culture is one of the most popular uses of Petri dishes in labs. Petri dishes are commonly used in biology to observe the grown bacteria under a microscope to study their characteristics or for other various reasons.
The process of bacteria culture is carried out in the following steps:-
Step 1:- The first step is to mix water and agar before boiling it. For this purpose, you will require a clean container that you can use in the microwave. These quantities create adequate nutrient agar to make multiple Petri dishes:
- 2 grams teaspoon agar
- 60 mL of hot water
Make sure that you stir them well together
Step 2:- The next step is to bring this mixture to boil for up to three minutes to ensure that the agar properly dissolves inside the mixture. You need to ensure that you don’t spill the mixture over. The end goal is to create a homogenous mixture (no particles remain inside it after boiling it)
Step 3:- After you have removed the mixture from the microwave, let it cool for 3-5 minutes
Step 4:- Remove the lids of the dish and carefully pout the agar mixture into it until it covers the bottom half of the petri dish with a warm nutrient combination.
Last Step:- You then need to cover the bottom portion of the petri dish task (not very tight) keep it loose. You need to set the lid ajar, which would allow the excess moisture to emit, and let the mixture cool for an hour which would also harden it.
Step 6:- The next step is to collect bacteria and do it with a cotton swab. The traditional practice is to put a clean cotton swab in your mouth and then draw a squiggle with it on the gelled agar. However, you can test any surface after dampening a cotton swab and rolling it in your fingers before pulling it across the desired surface.
Step 7:- Take the petri dish and remove its lid before lightly drawing a line in the agar mixture using a cotton swab. Roll the swab in the fingers of your hand while you are drawing the line. You then have to replace the lid and make sure to label the dish with the name and date of the thing you have tested.
Step 8:- Clean the surface that you have tested (i.e., it could be your cell phone, etc.) With a sanitizing material
Step 9:- Use a clean swab to redo the test in the other half of the petri dish that you have performed in step 6 to confirm the cleaning efforts that you have made
Step 10:- Now, you have to allow the bacteria to grow. For this purpose, you need to place the petri dish into a locked bag. It would be best to place the upside-down dishes inside a warm place with a temperature around 37°C and a completely dark place. In a short time, you will notice molds, bacteria, and fungi growing over it. You will eventually see them grow colonies over the following days.
Step 11:- Do not open the zipper-lock bags until the bacteria has stopped growing or grows in the desired period. Once you are done, you can analyze the dispose of the sealed bag
Characteristics of plastic culture petri dish for Microbiology
Petri dishes are made in both plastic and glass material. There are two types of plates that you can use for cell culture, which are:-
- Tissue Culture plates
- Nontissue culture-treated plates
The TC plates are suitable for adherent cells, while the non-tissue cultured treated plates suit non-adherent cells. Cell culture-treated mainly refers to a process through which hydrophobic polystyrene surfaces become hydrophilic by increasing a negative charge through various chemical means essential for cell attachments. It is usually in two mains shapes which are round and square.
The size of these petri dishes include:
- Petri dish, 35×15mm
- Petri dish, 60×15mm
- Then, 65×15mm with grid
- Petri dish, 70×15mm
- Petri dish, 90×15mm for machine use
- Petri dish, 90×15mm
- Petri dish, 90×15mm two compartments
- Petri dish, 90×15mm three compartments
- And Petri dish, 90×15mm four compartments
- Petri dish, 150×15mm
- Petri dish, 130×130mm
Difference between a single-vented, triple-vented, and non-vented petri dish
The main idea behind venting Petri dishes through one or more minor plastic protrusions at the lids inside is that it protects the plate from sitting entirely flat from the base and thus allows gaseous exchanges.
There are three main types of these which include:-
- Triple vented: – The triple vent design lifts the lid off the petri dish from the base from each side and assists airflow and gaseous exchange. This type is ideal for short term work and aerobic cultures since there is an increased moisture evaporation
- Single vented: The single vent design is different as it only lifts the lid from the base at a particular point and limits the air follow, minimizing evaporation. It is the ideal choice for long-term aerobic work.
- Non-vented: – The non-vented design does not contain any vents, and the lid sits flat in its base. It is the ideal choice for anaerobic work
Difference between slippable, stackable, and semi-stackable Petri dishes
The Slippable Petri dishes are designed and suitable for automated filling and the streaking system. These contain side arrows and ISO mark targets for computerization. The Stackable Petri dishes are more suitable for general use in the laboratory.
The Semi stackable Petri dishes comprise the function of stackable Petri dishes suitable for handwork on the bench while also working equally well inside automated media filing equipment. The dishes are an excellent choice for both of these uses