Car Shaped Birthday Cake for Boys that is really so easy to make and tastes good as well. I have used a simple 8 inch chocolate vanilla sponge cake to make it. Only one layer is sufficient to make this. I used Swiss Meringue Buttercream to frost it as my whipping cream is not that stable. Also the buttercream tastes really good and can be relied upon as not to loose its shape.
I made this cake for the second time for my son’s third birthday. I had made a similar Blue Car cake for his first birthday. My son is crazy about cars since a very small age eight-nine month onwards. I think he is obsessed with them. He utters the word cars atleast ten twenty times in a day now. Thats why decided to make it again for his third birthday and need i say how pleased he was to see it. He told “Nice” for the first time by seeing the cake.
Car Cake
Ingredients
Swiss Meringue Buttercream
- 6 large Egg whites
- 2 Cups granulated Sugar
- 11/2 Cups (350g) unsalted Butter, softened but still cool
- 2 Tsp Vanilla Essence
- 1/4 Teaspoon salt
- Gel colors Yellow, Purple and Green
- 1 Oreo cookies original
- Small Piping Nozzles
- Piping Bags
Chocolate Butter Cake
- 11/2 Cup All Purpose Flour
- 11/2 Tsp Baking powder
- 3/4 Tsp Baking soda
- 1/2 Tsp Salt
- 90g Unsalted Butter
- 3/4 Cup Milk , full fat
- 3 Eggs, at room temp
- 1 Cup superfine Sugar
- 2 Tsp Vanilla extract
- 2 Tsp Vegetable Oil
- 3 Tbsp Cocoa Powder
- 3 Tbsp Hot Water
- 3 Tbsp Granulated Sugar
- 1 Tsp Instant Coffee
Instructions
For the Swiss Buttercream
- Place a steel bowl over simmering water. Don't let the bowl touch the water. Cook the egg whites with the sugar till frothy and sugar granules dissolves.
- Whip into stiff peaks while still warm. Let it cool to room temperature or chill for few minutes before adding the butter bit by bit. Whip on low till all incorporated.
- Add the essence and salt at last and whip on medium till you get a pipable consistency. Reserve some uncolored frosting for layering the car cake inside the cake layers and for a Breadcrumb coating. Add the food gel colors at the end in separate bowls. I used Dr Oatekar's Yellow, Purple and Green gel colors.
- Refrigerate the frosting if it starts melting. As it contains butter it might get hard if you store it overnight or for a long time. Bring it to room temperature before using it. To get a smooth finish whip it again just before using it.
For the Car Cake
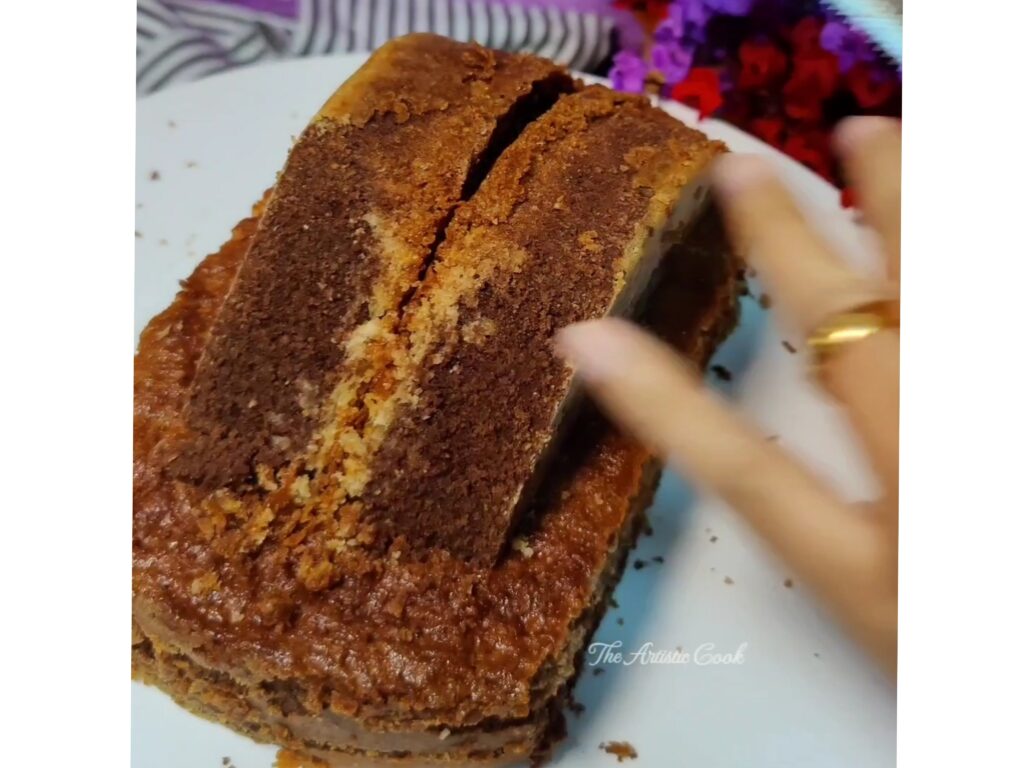
- I baked a 8 Inch Chocolate Butter Cake made using Hot MIlk technique using the ingredients listed above. Recipe in detail i will post very soon. As i was running out of time for my Son's birthday i could not record the cake baking recipe.
- Make a Cross mark lightly in the Round 8 inch cake. Cut the 8 inch round cake in the sides equally. Grab both the sides and place them on top of the center portion to see how it fits.
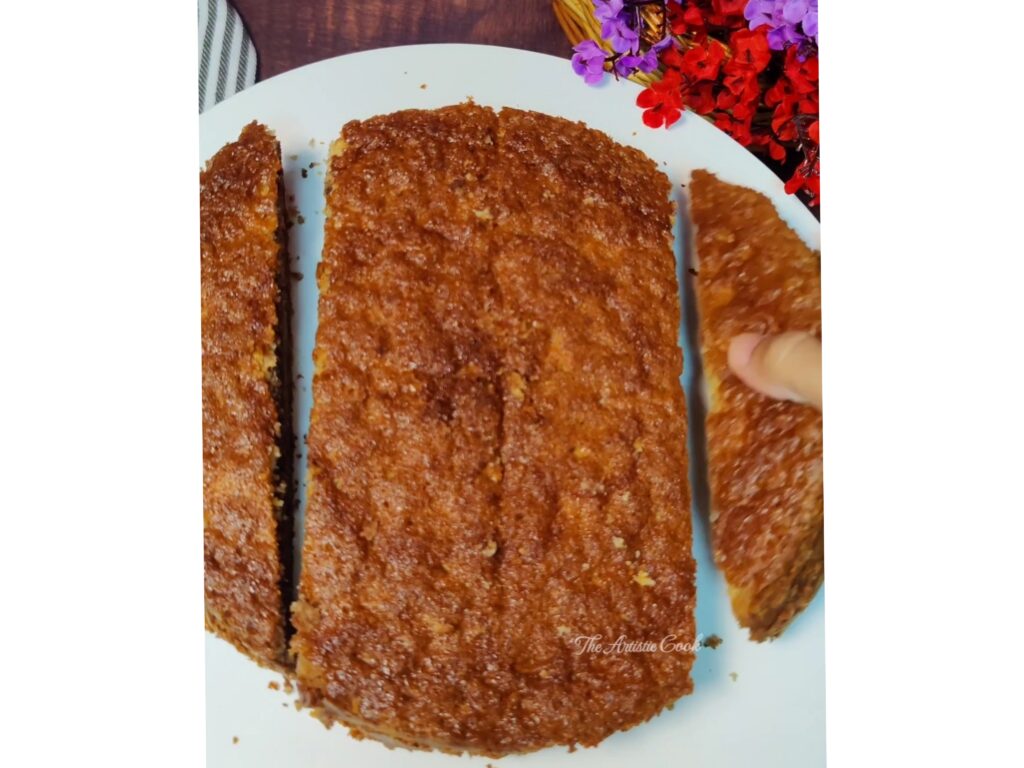
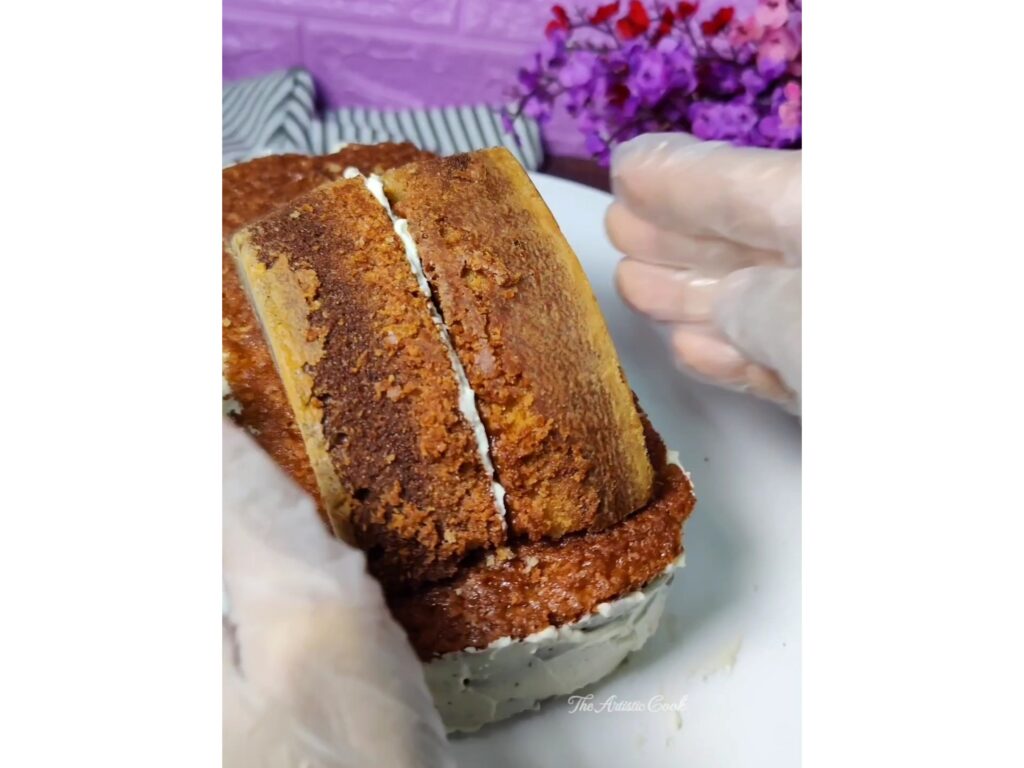
- Slice the edges of the top layers to shape them as the Front and Back Mirrors.
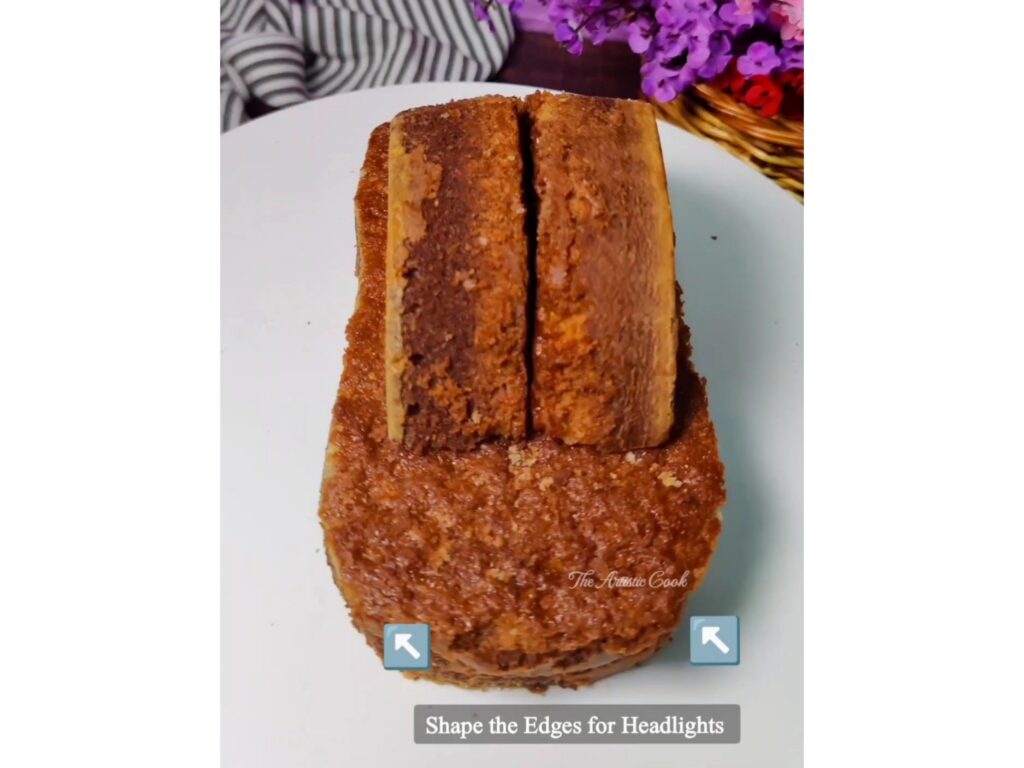
- Trim the edges for the Headlights
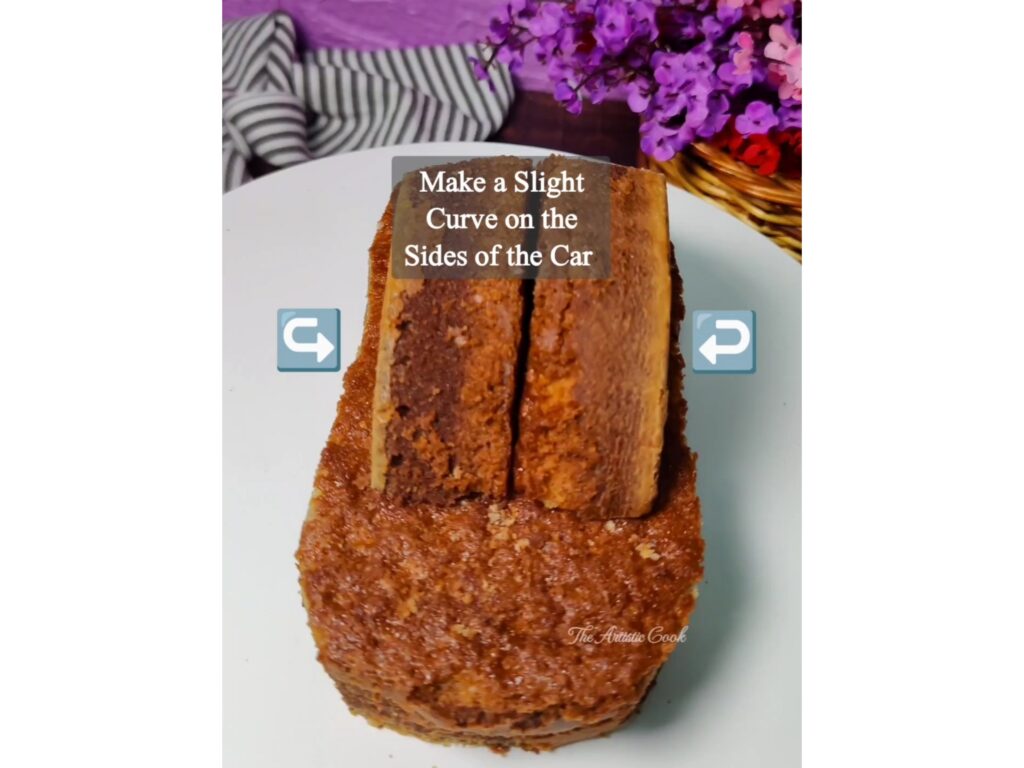
- Cut a slight curve at the sides if possible
- Slice the base layer into two and apply the frosting

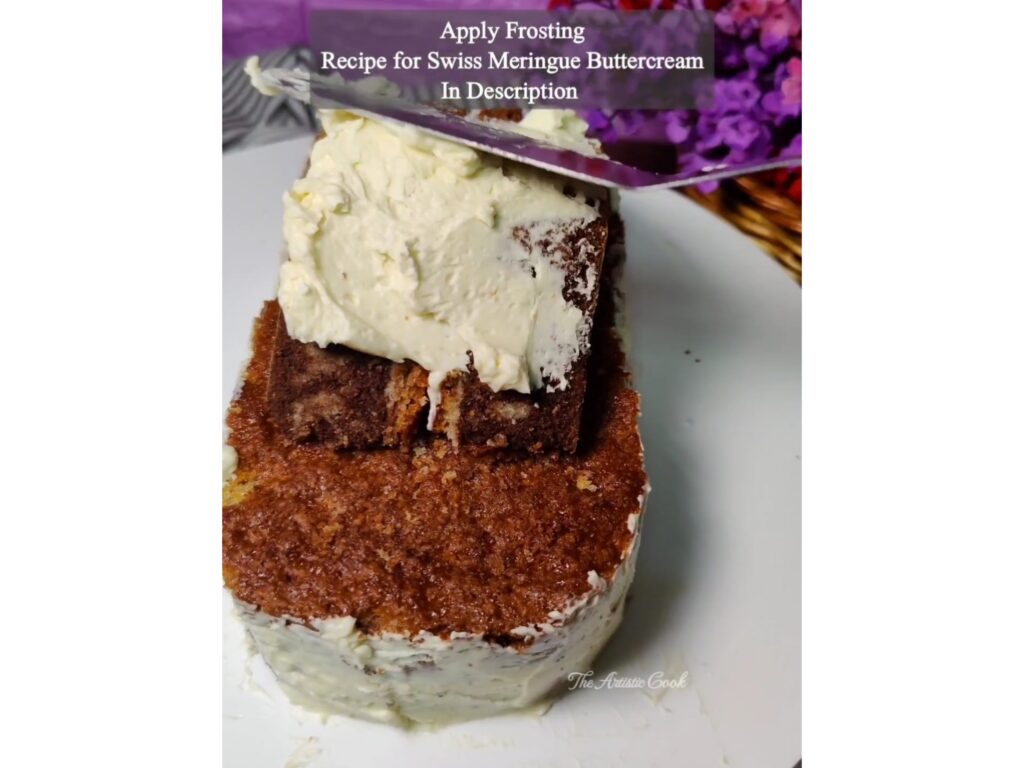
- Apply frosting on the top two layers.
- Apply light frosting on the entire cake. Refrigerate it for few minutes.
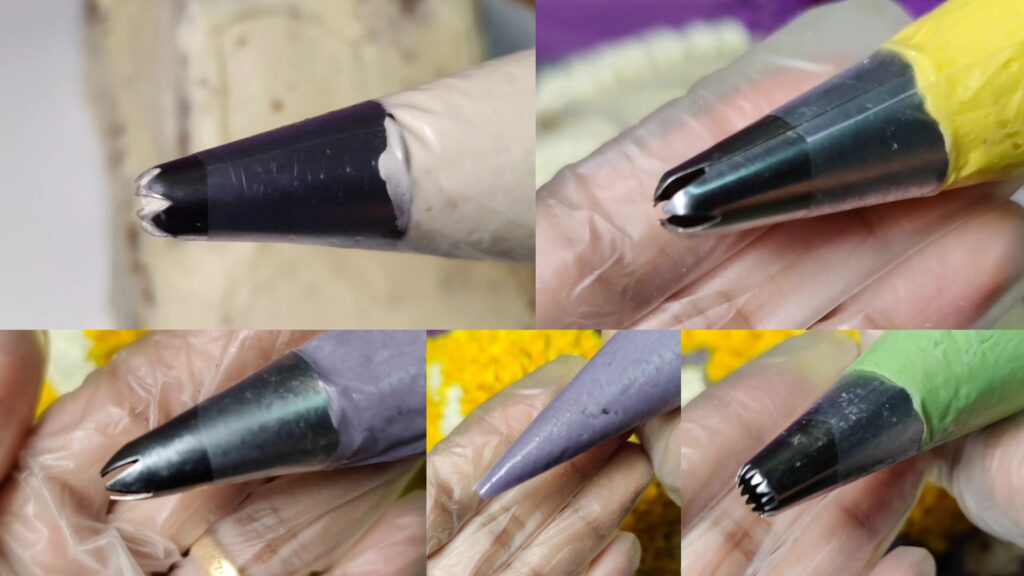
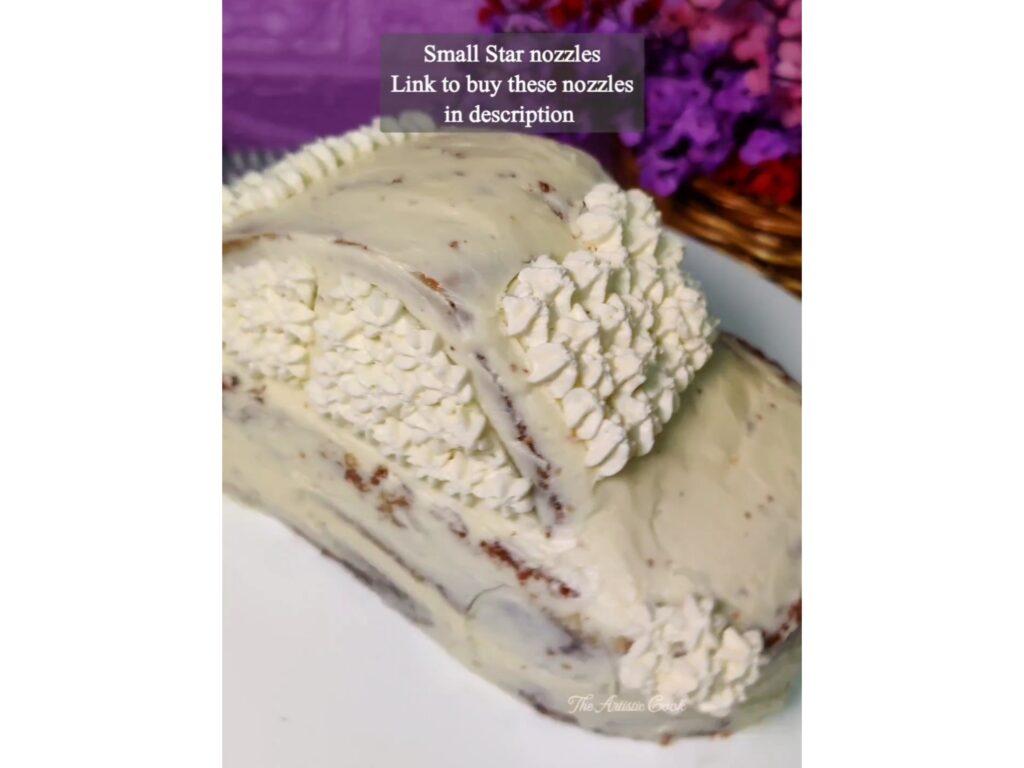
- Prepare the frosting in different piping bags using small star shaped nozzles. The link to buy these nozzle set is given below from Amazon.
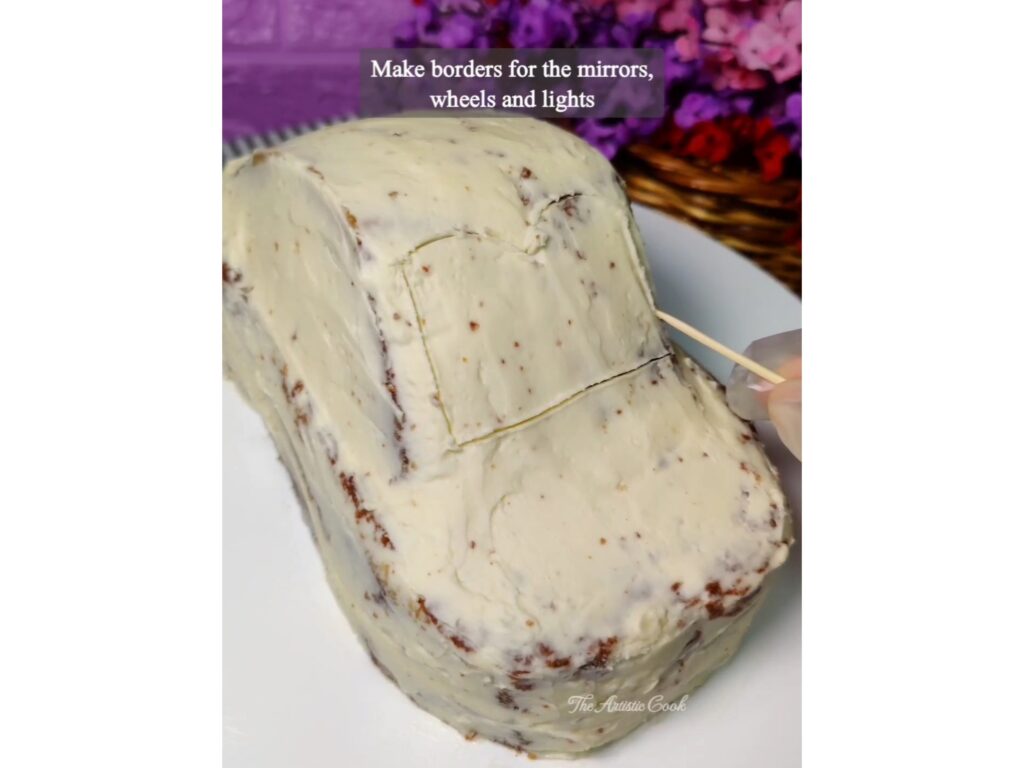
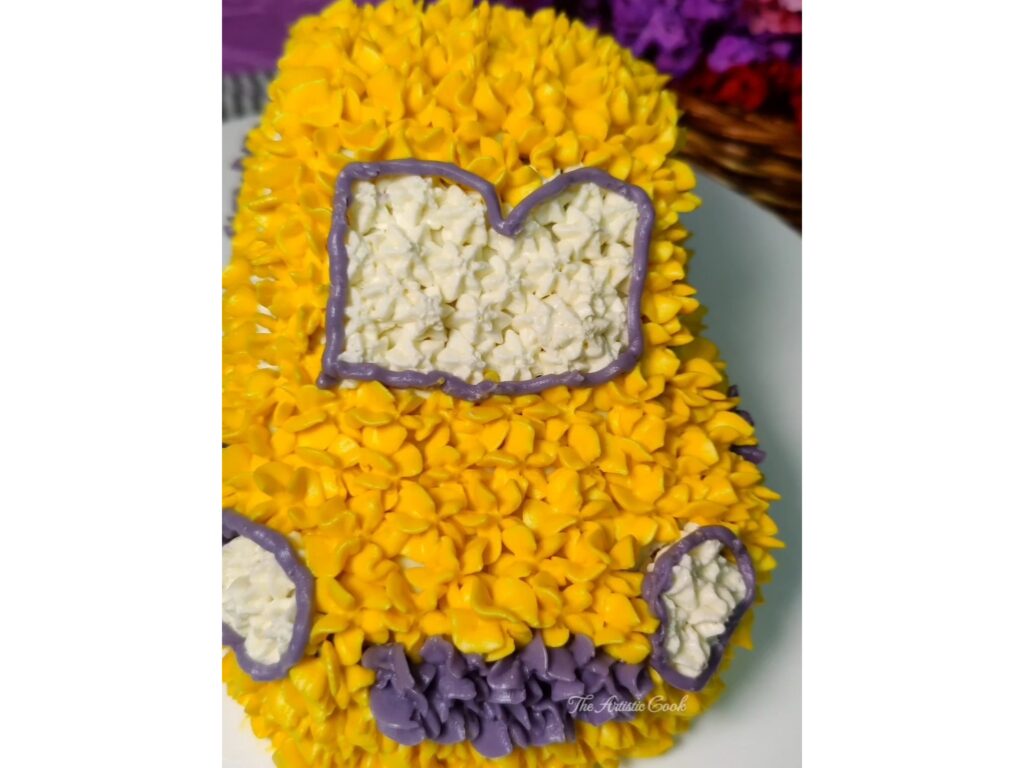
- Use a toothpick to mark the borders for the mirrors and headlights. Use a cookie cutter for the wheels.
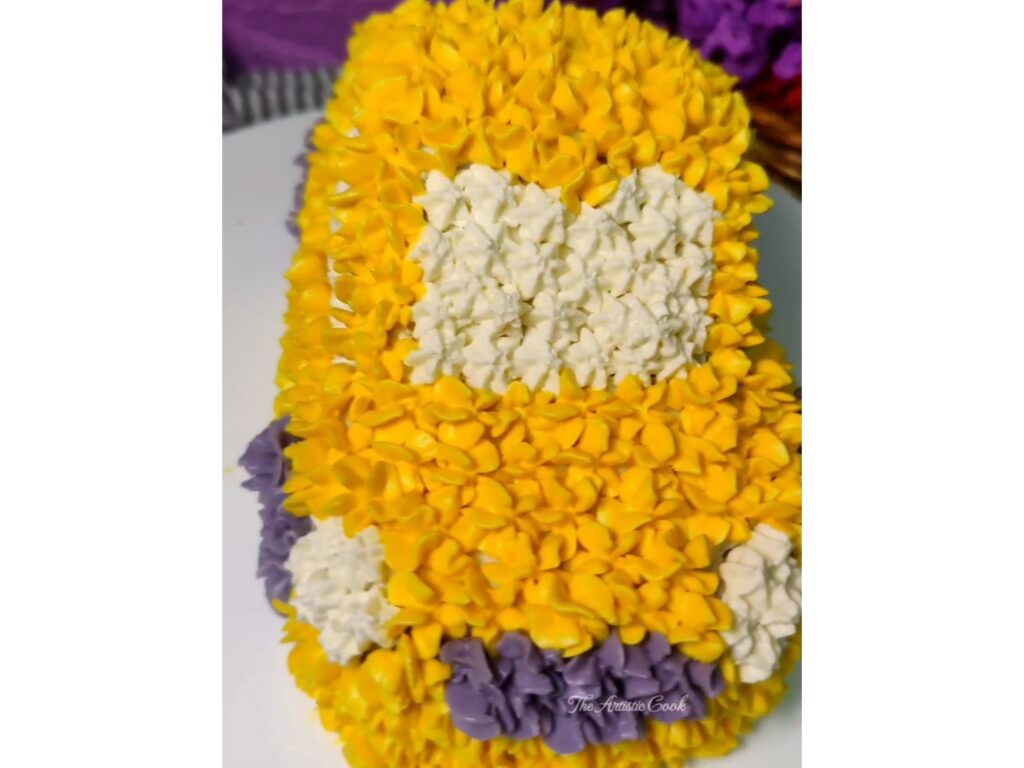
- Apply the uncolored white frosting first on the entire car in the mirrors and headlights.
- Apply the Yellow color to the remaining car. Pipe small florets or stars and fill any empty spaces.
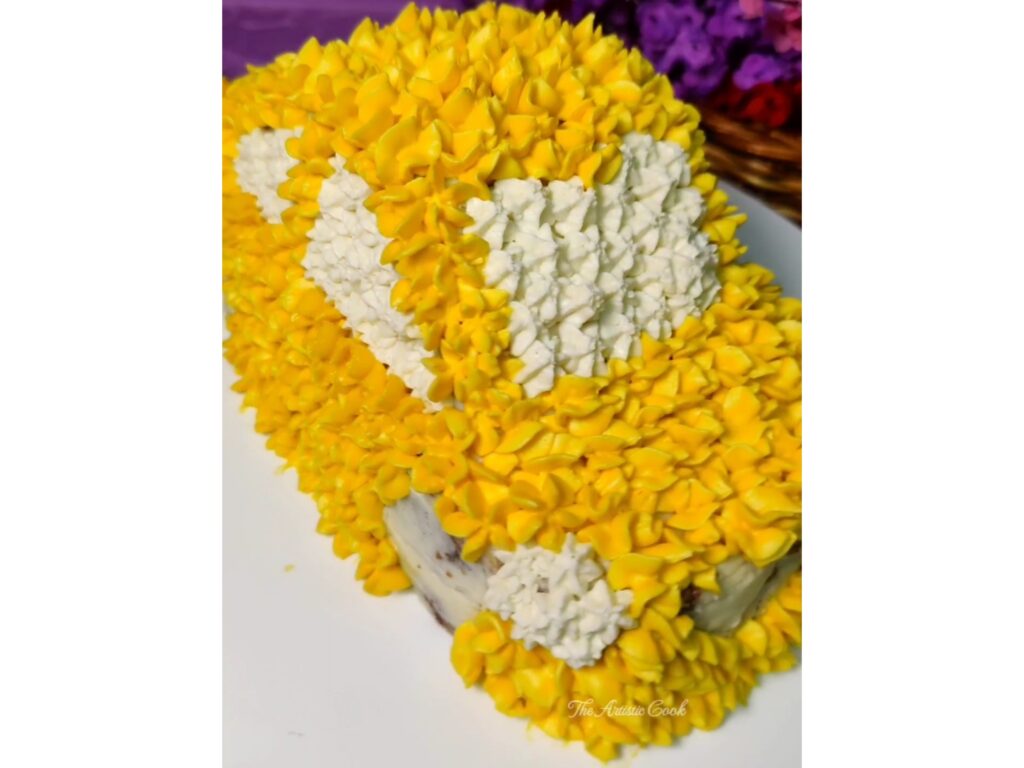
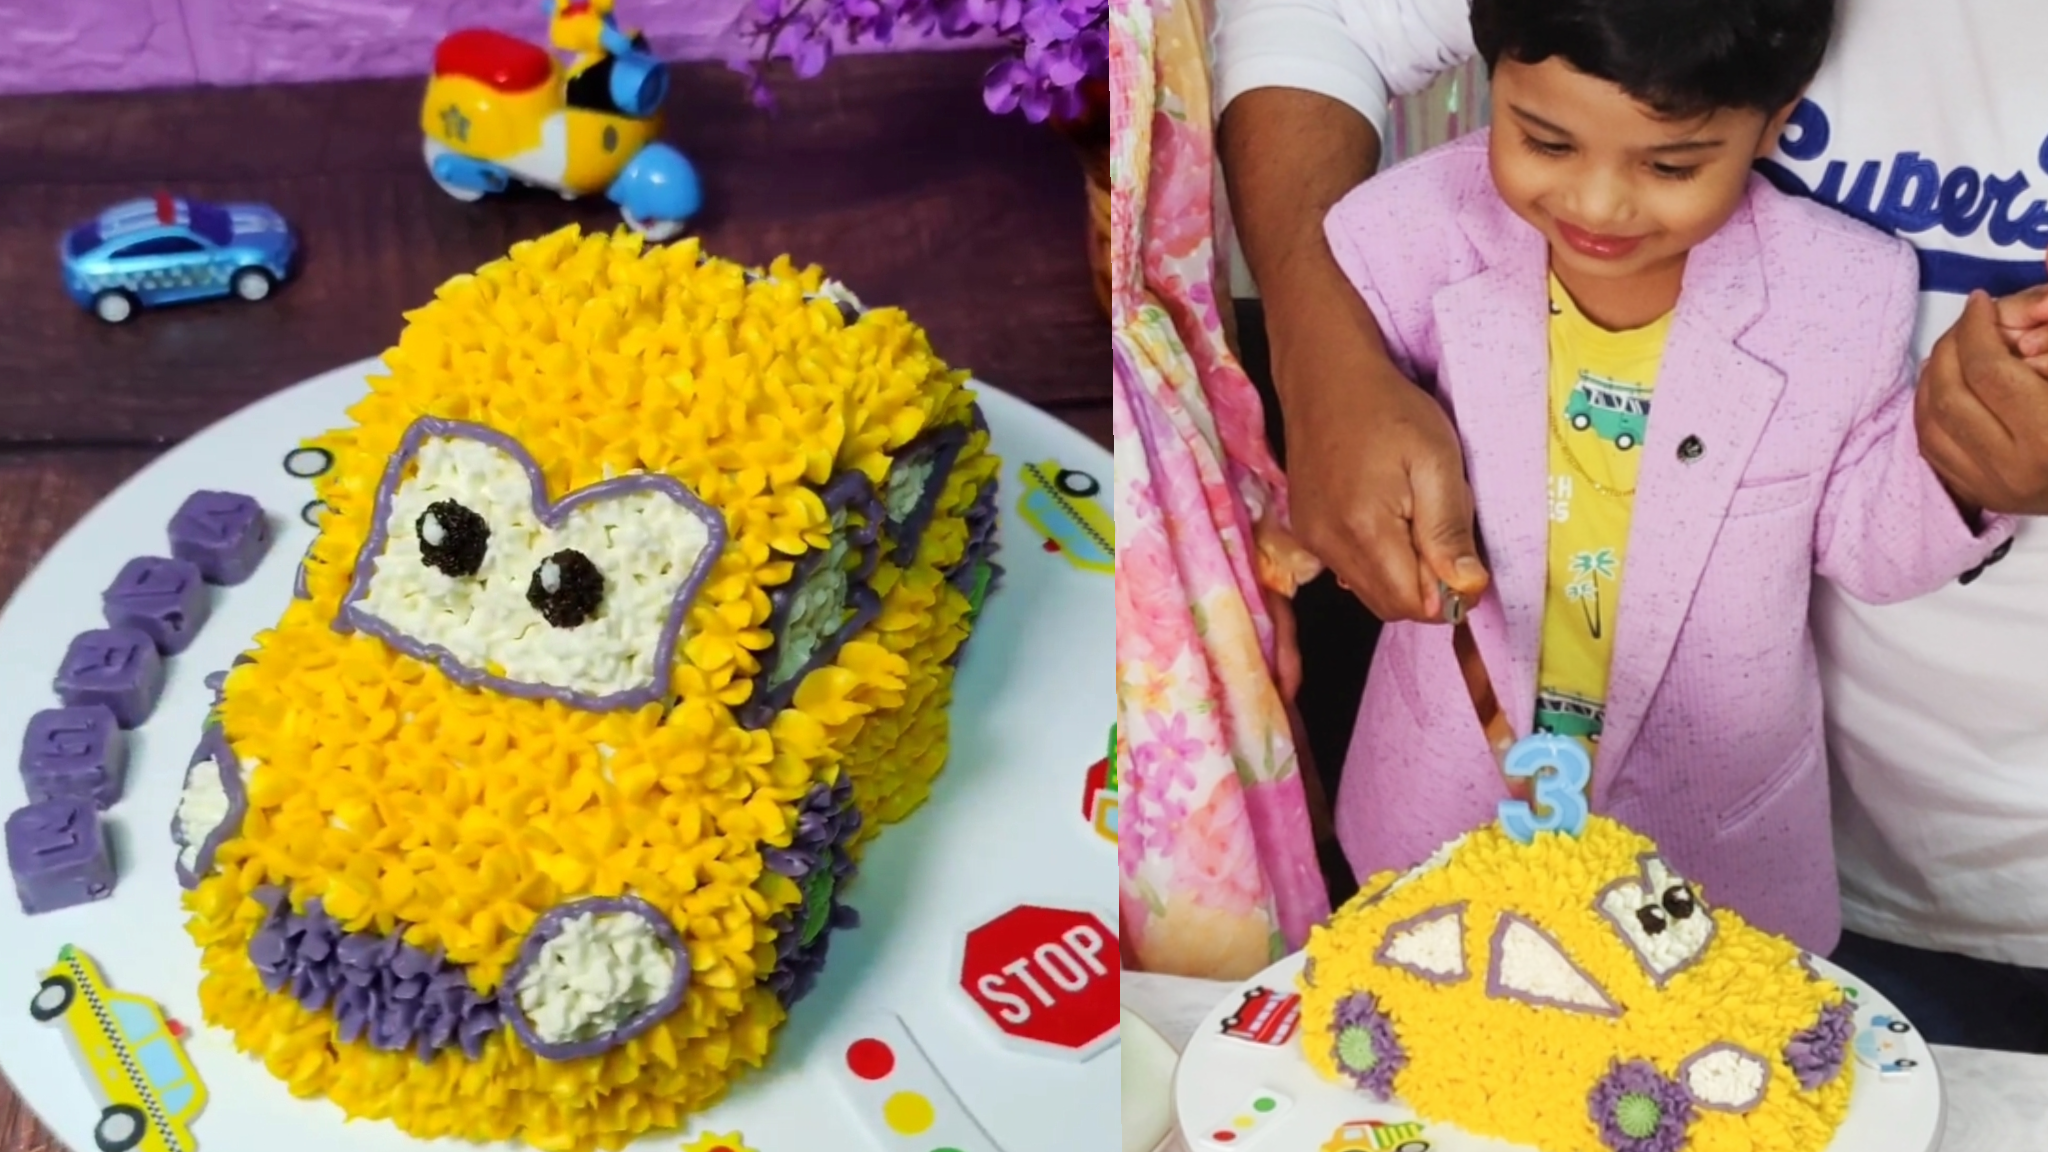
- Apply the Purple color for the wheels outer circle and front bonnet. You can use any other color theme you want. I used purple as my son had a lavender blazer on for his birthday with a yellow tee. So i wanted the car to match his outfit.
- Apply Green for the inner circle of the wheels. You can optionally use Oreo cookies as Wheels instead to make it easier.
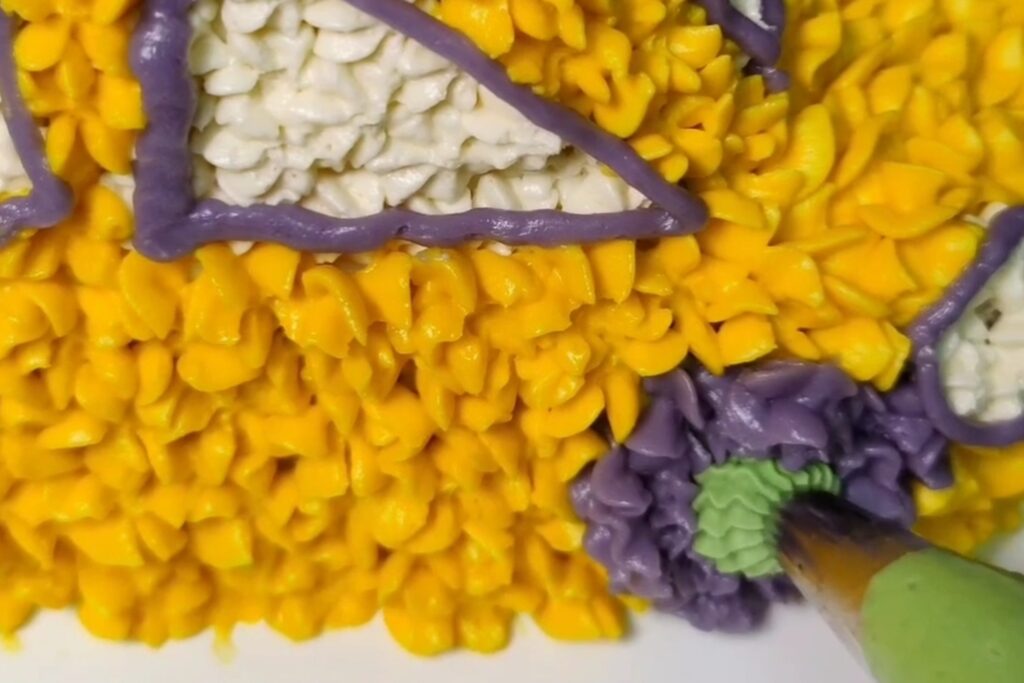
- Use a Piping bag filled with purple frosting with a small cut as a tip to border the mirrors and headlights. My hands were not that steady so i didnt do a great job.
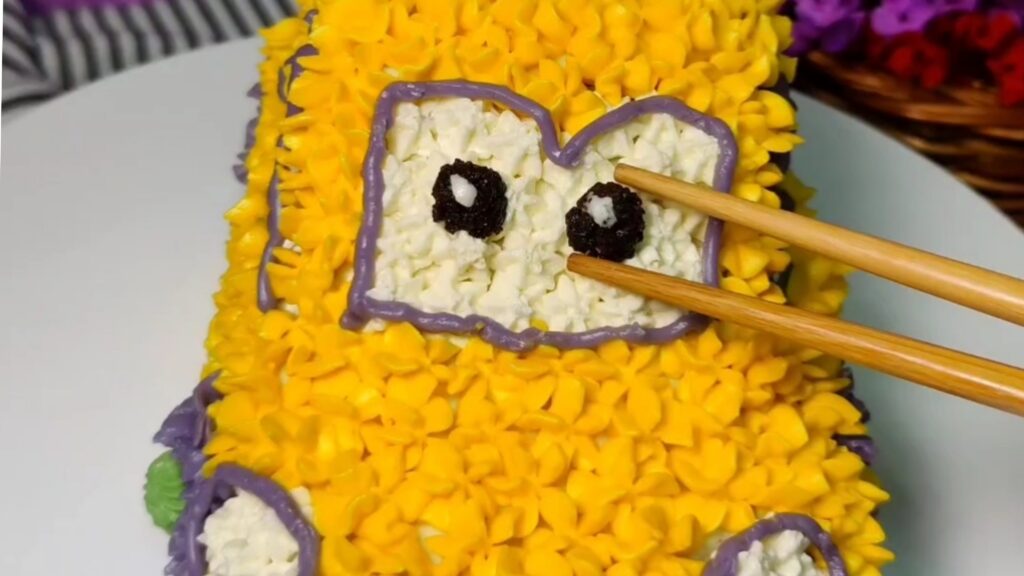
- Used Oreo cookies to make the eyes. I used the white cream inside the cookie to mimic shiny eyes. You can use a chocolate ganache or color bit of the frosting with black if you want. I did not have black gel color so i used the cookies.
- Used White chocolate for the Name Letters block. I used the same Purple gel color mixed with oil first then added to melted white chocolate. If you have candy colors then you dont need to mix with oil first. Place the purple colored chocolate mix in letters silicone mould. Tap the mould few times to remove any air bubbles and for a even distribution. Refrigerate it till frozen well. These letters were finished within seconds of cutting the cake. My son preferred them more than the cake.

- I used a number three candle and perched it in the top of the cake. Placed a few car theme stickers around the cake board and it was all done.

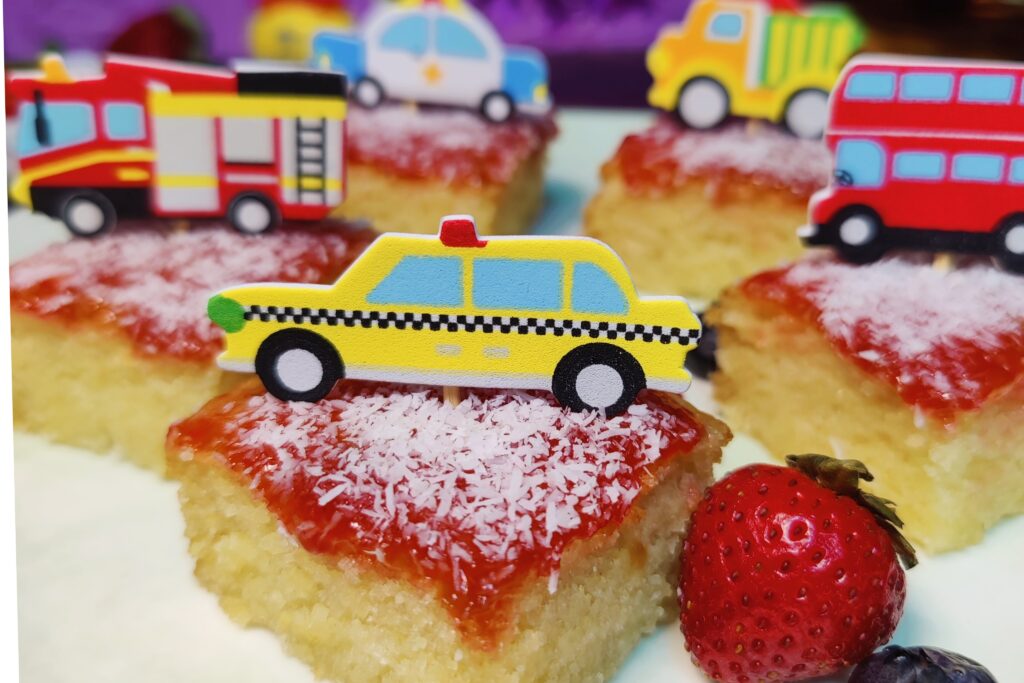
- I usually make matching theme cupcakes but that day i just made a plain sponge cake, layered the top with strawberry jam, drizzled some coconut flakes and cut them into squares. Placed some car toppers on them for decoration. These got over faster than cupcakes.