
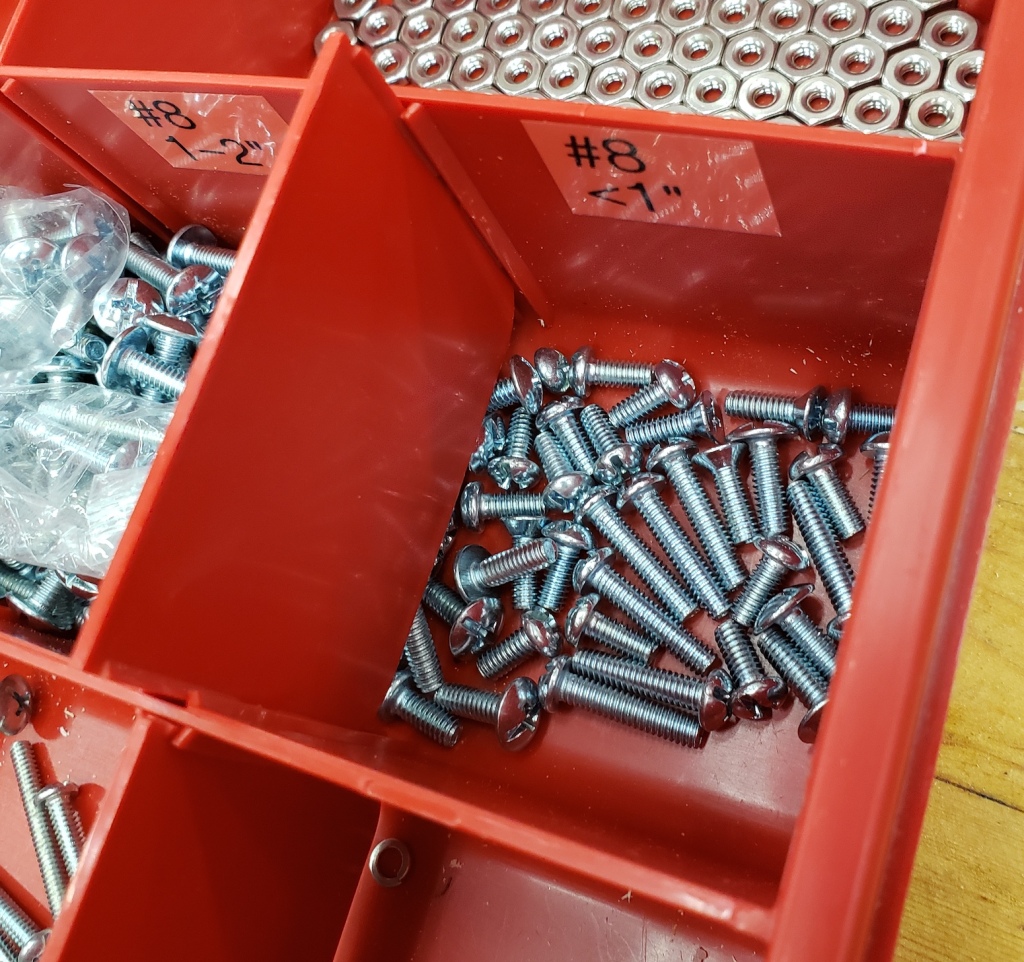
A few years back I built two rolling cabinets to hold all of my screws and other hardware. They were a big boon, but I quickly converted one over to having only drawers. It looks like the other is about to have the same thing happen. I have lots of plastic organizers that are well labeled and sorted, but they have a few issues. The first one is that I go into them so often they pile up everywhere. I even added a pull out shelf so there was always a place to sit one. There tend to be 2 or 3 stacked up at any given time.

The other issue with them, and this is minor but super annoying, is that occasionally the dividers shift and start mixing all your hardware up like a bad drink recipe. Lastly, I find myself taking the organizer with me to the project I am working on. Sometimes you absentmindedly pull the wrong screw, and it takes up more space where you are working.
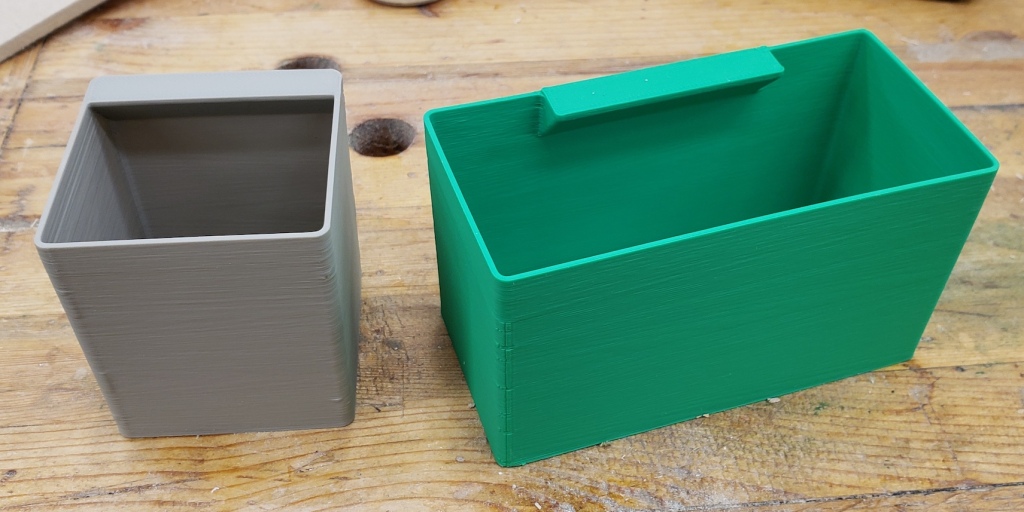
I was inspired by Alexandre Chappel’s video about printing little trays and using them to organize hardware. I printed out a few of his trays and thought the concept was fantastic, but had some issues with the wall thickness in the model and wanted more label space. I made my own instead. They have rounded corners to help speed printing, consistent wall thickness, a slight taper to the sides to make pulling them in and out easy, and a large label area. Now I can pull only the tray of screws I need and take it to where I am working.
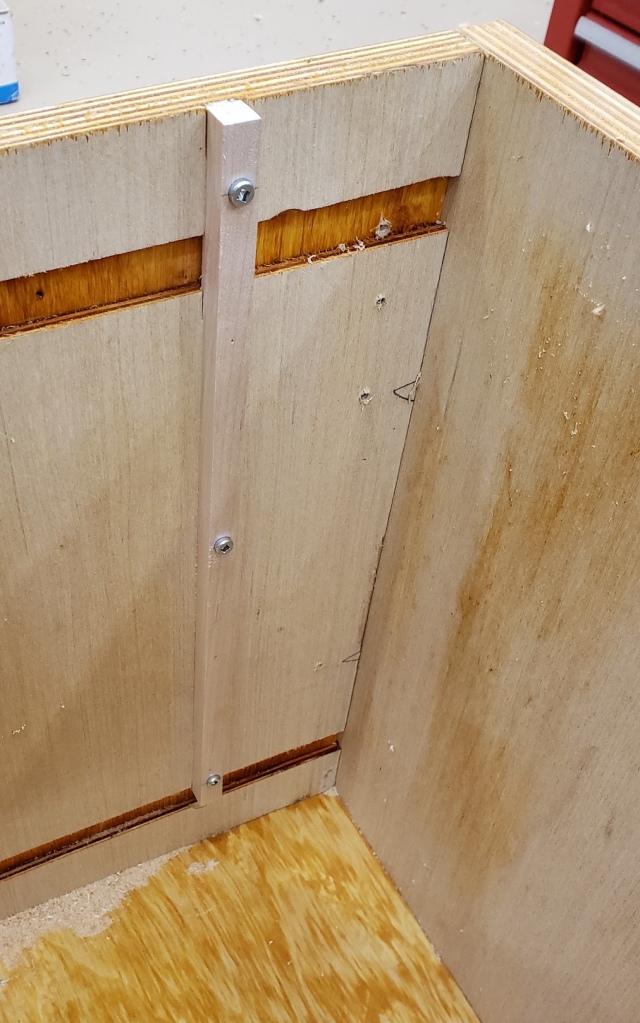
With the tray sizes worked out I did some measurements and found I could fit a drawer 8 trays wide if I was careful in how I cut everything. I went ahead and started installing runners in the cabinet. I cut a template that would set spacing and act as a router guide to cut a dado in the cabinet sides. Once again my trim router comes to the rescue. This will help with the drawer runner alignment and expose new wood for glue. The inside was covered in boiled linseed oil when I made it.

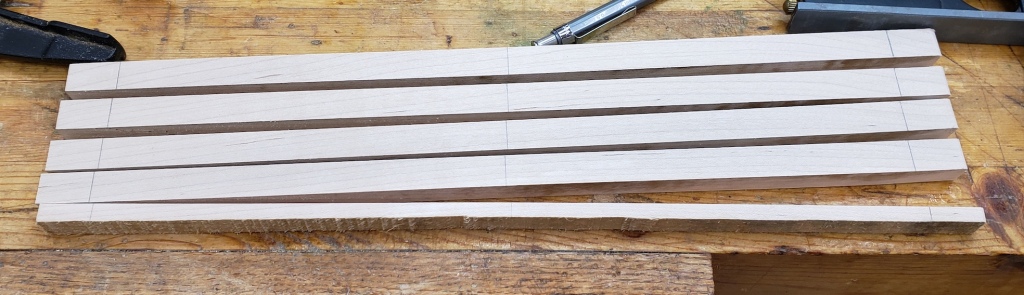
I took thinned maple and had a small production run of drawer runners. I sand the top and bottom smooth, marked the board for screw locations, ripped out each runner, drilled clearance holes for screws and then installed them. Each runner got glue, a few brads to keep it still, and 3 screws. There will be a lot of weight on these, so I didn’t want any movement.


I planned out all the drawers to be the same, and installed runners for each. Before I went into drawer production though, I made a prototype held together with clamps. Good thing I did! The original plan was for the drawers to be 6 trays deep. Looking at the left picture below, I have the drawer pulled out as far as I dare given the weight. I can’t see the label or the contents of the last row. Dropping back to 5 rows leaves plenty of drawer still inside the cabinet for stability. Metal slides would cost more money and drawer width, but allow full extension. I could have had a few more trays had I gone that way, but I am happy with my decision.

6 trays deep, cant get to the last one 
5 trays deep
With the drawer parameters set I went back into production mode. The cabinets originally had a number of shelves made for them. I didn’t need those anymore, so I figured out how to incorporate them into the new drawers. I am working really hard to minimize waste these days, so I don’t have to go out to the store. No fancy joinery, just a rabbet on the bottom to help keep the drawer bottom in the right position. For the fronts I attached new plywood and kept the orientation the same so the grain pattern would flow down the front.

Old shelves become new drawer sides 


With the drawers all assembled and dried I needed to countersink the screws that hold the drawer pull on. Once again a template makes this repeated work fast and easy. The template goes inside the drawer and guides a forsner bit big enough for the drawer pull’s screw head. Countersinking like this keeps the head from interfering with my trays and protrudes the screw far enough so that It can bite into the drawer pull.


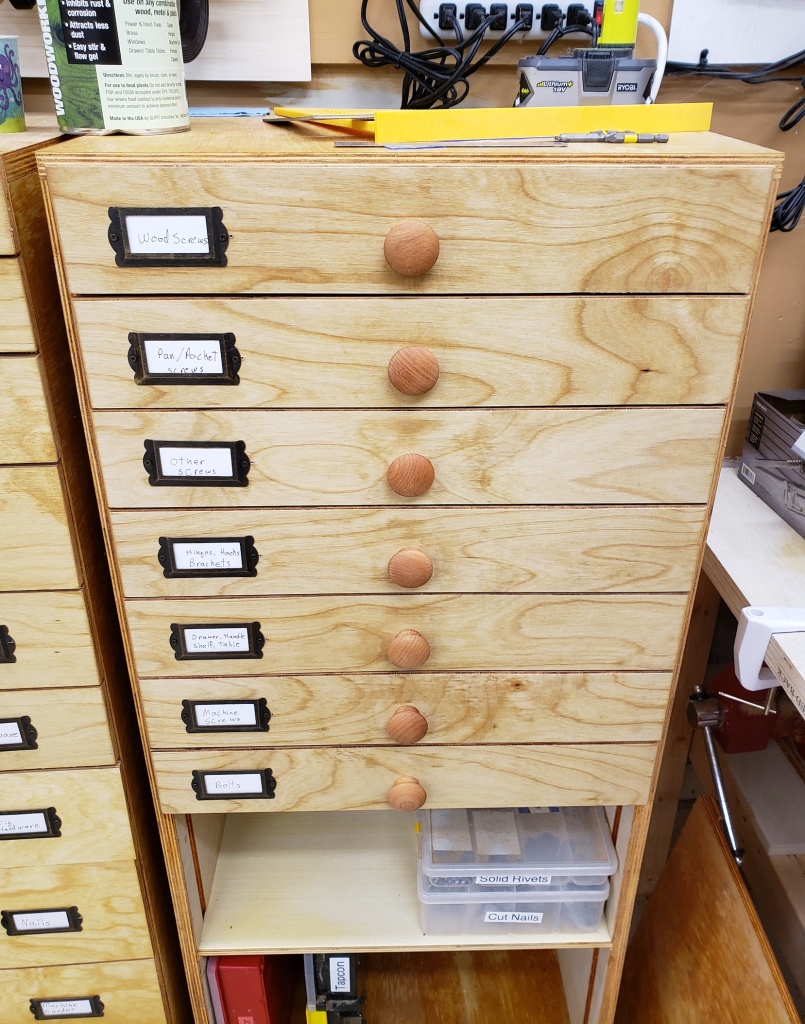
The finished cabinet looks gorgeous and I was even able to use the same label holders as I did on the other cabinet. There are still shelves below for organizers I thought were worth keeping. The shelf space below is at only 1/3 full at most, and the drawer space is 3/4 full. I doubt I will have to build any more drawers in the future, but the cabinet has enough space for another 5 or so. Each drawer has a magnet embedded in the front to hold onto a small steel ruler. That way you can double check what you pull out, and always put fasteners back in the right place.


Pingback: Materials Cabinet | Kilted Craft Works