Amaryllis Bulbs
Easy Indoor flowers for wintertime blooms
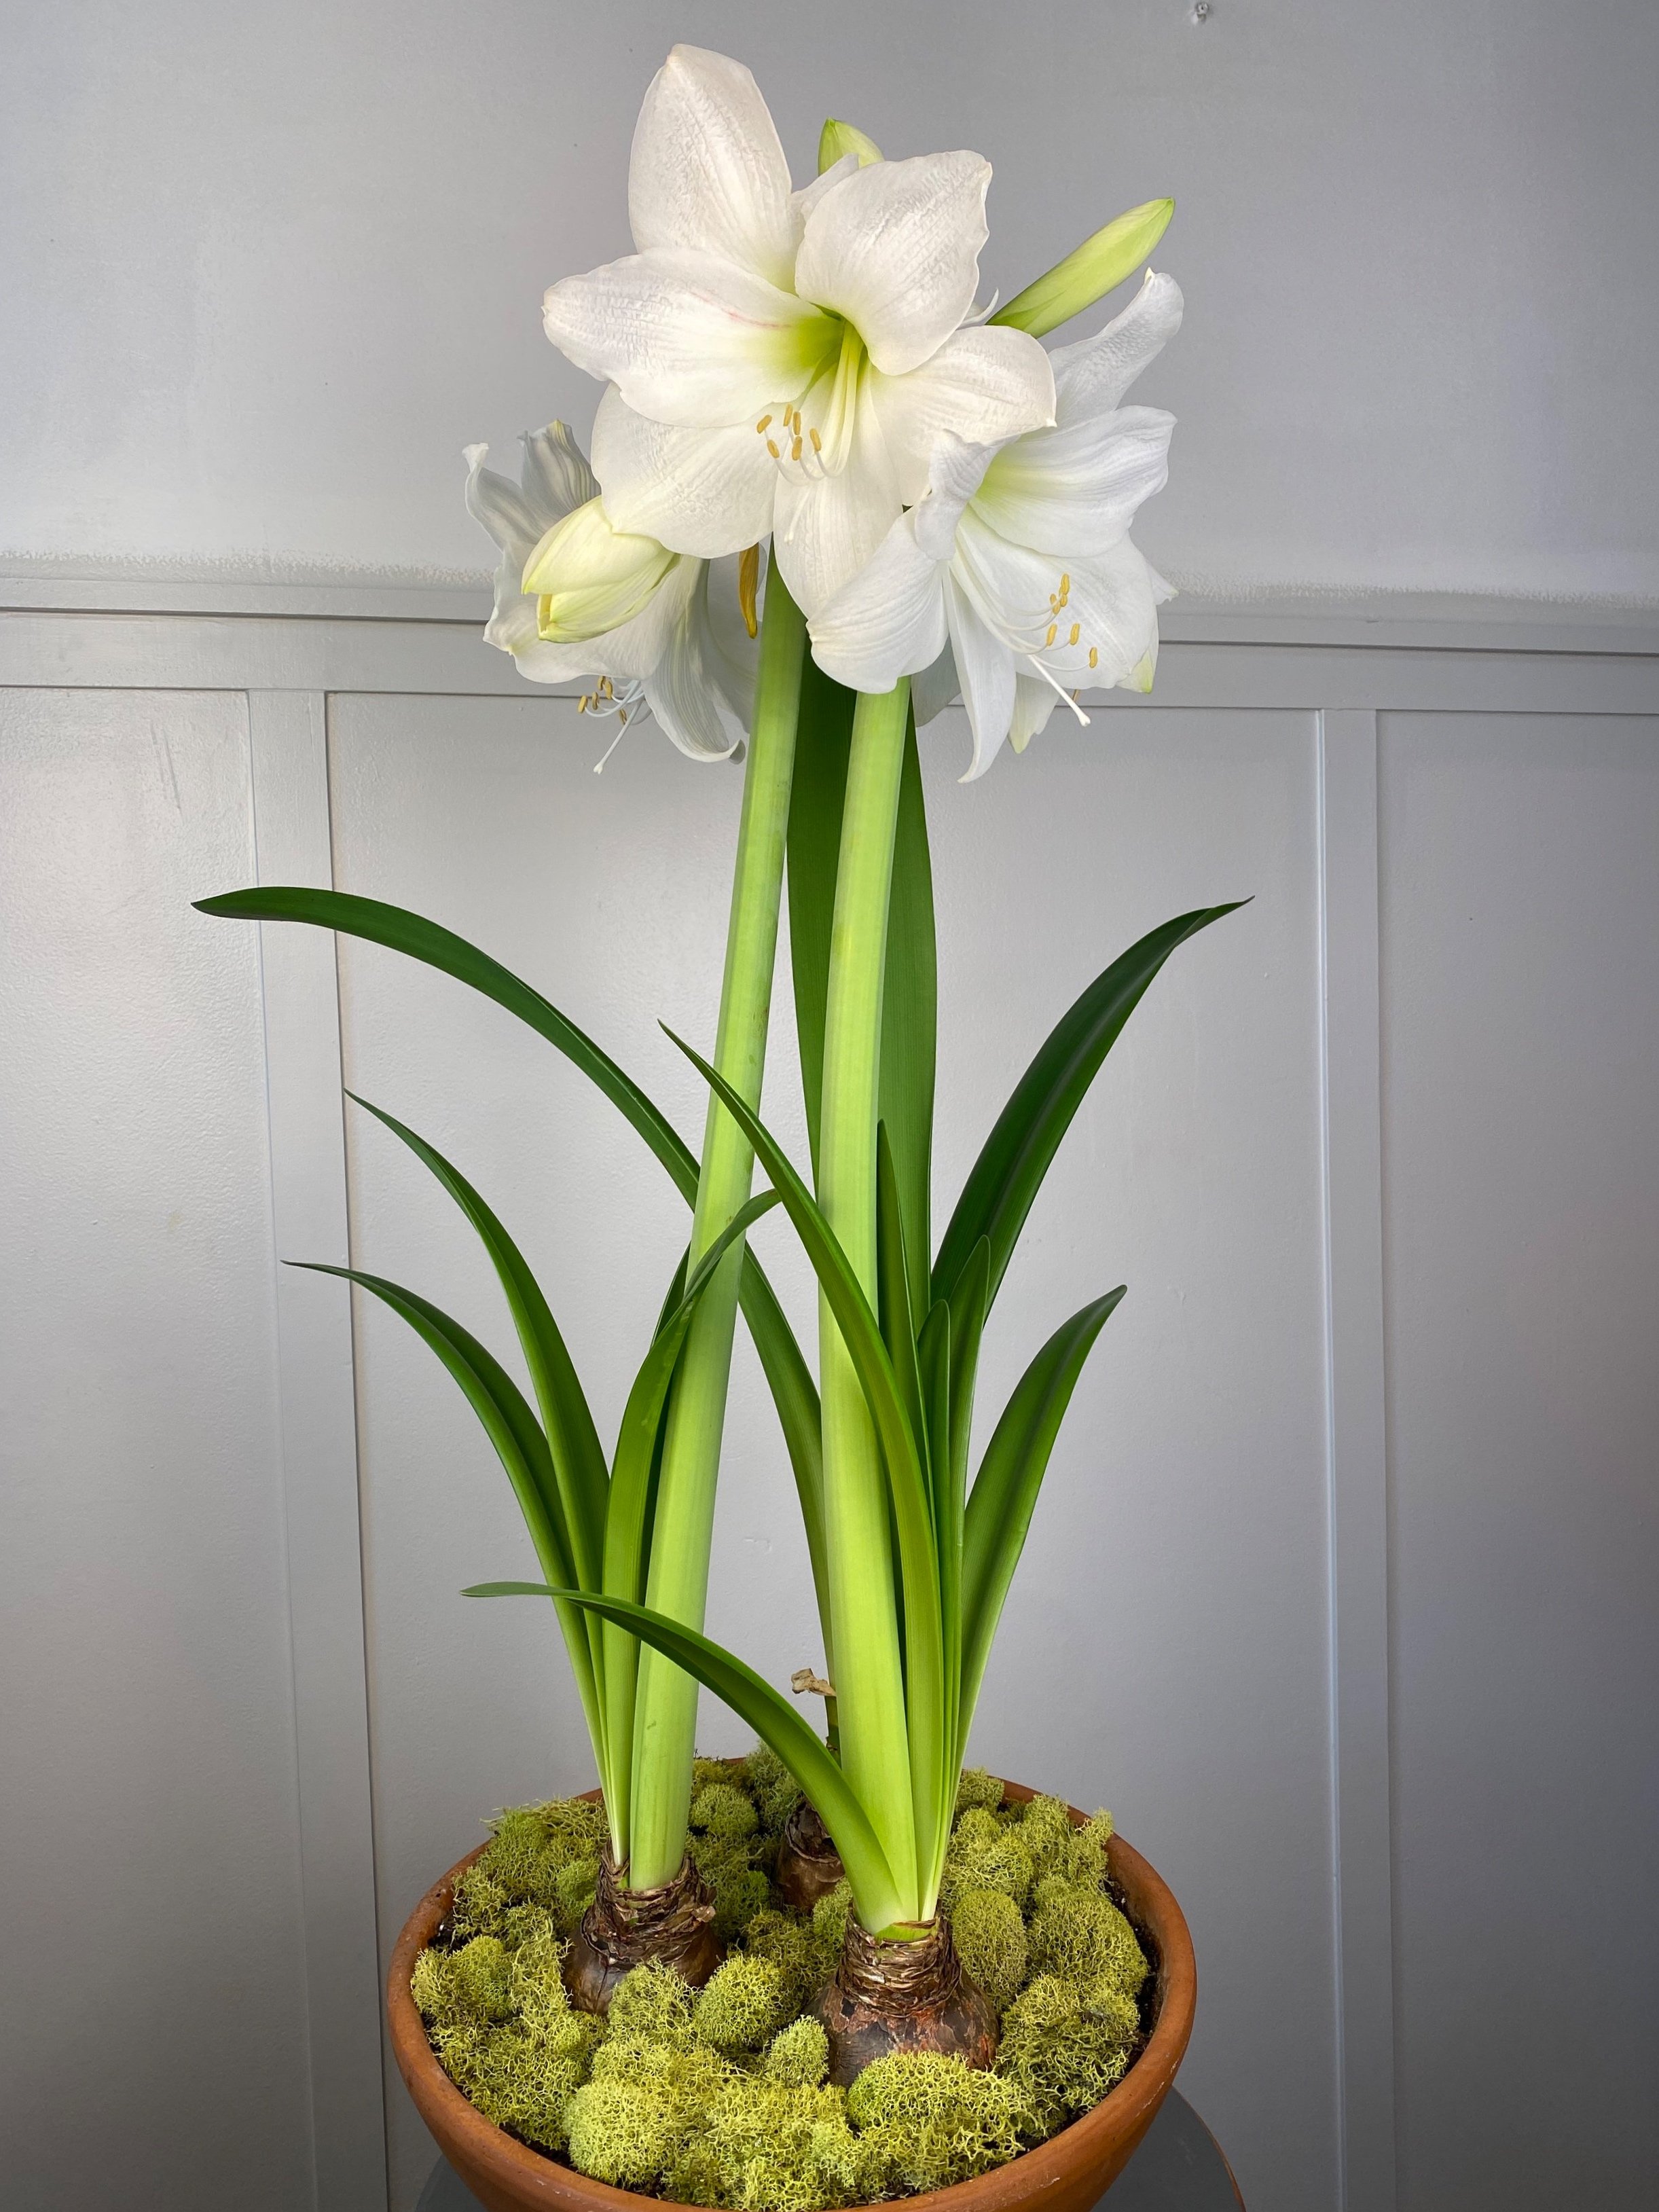
Amaryllis Blooms! Wish you could have seen them in-person. So tall!
I have fallen in love with Amaryllis. I am not a fan of red colored flowers and I often associated amaryllis blooms with red around Christmas. I quickly learned there were breathtaking varieties out there other than red, so I starting planting.
This year I planted the variety, Monte Blanc, and it was exquisite! It sat on two-foot tall stems with huge elegant blooms. It brought me so much joy during the winter. Starting this process and seeing it all unfold was miraculous. They were easy to grow; the only hard part was practicing patience. In the end, it was well worth the wait.
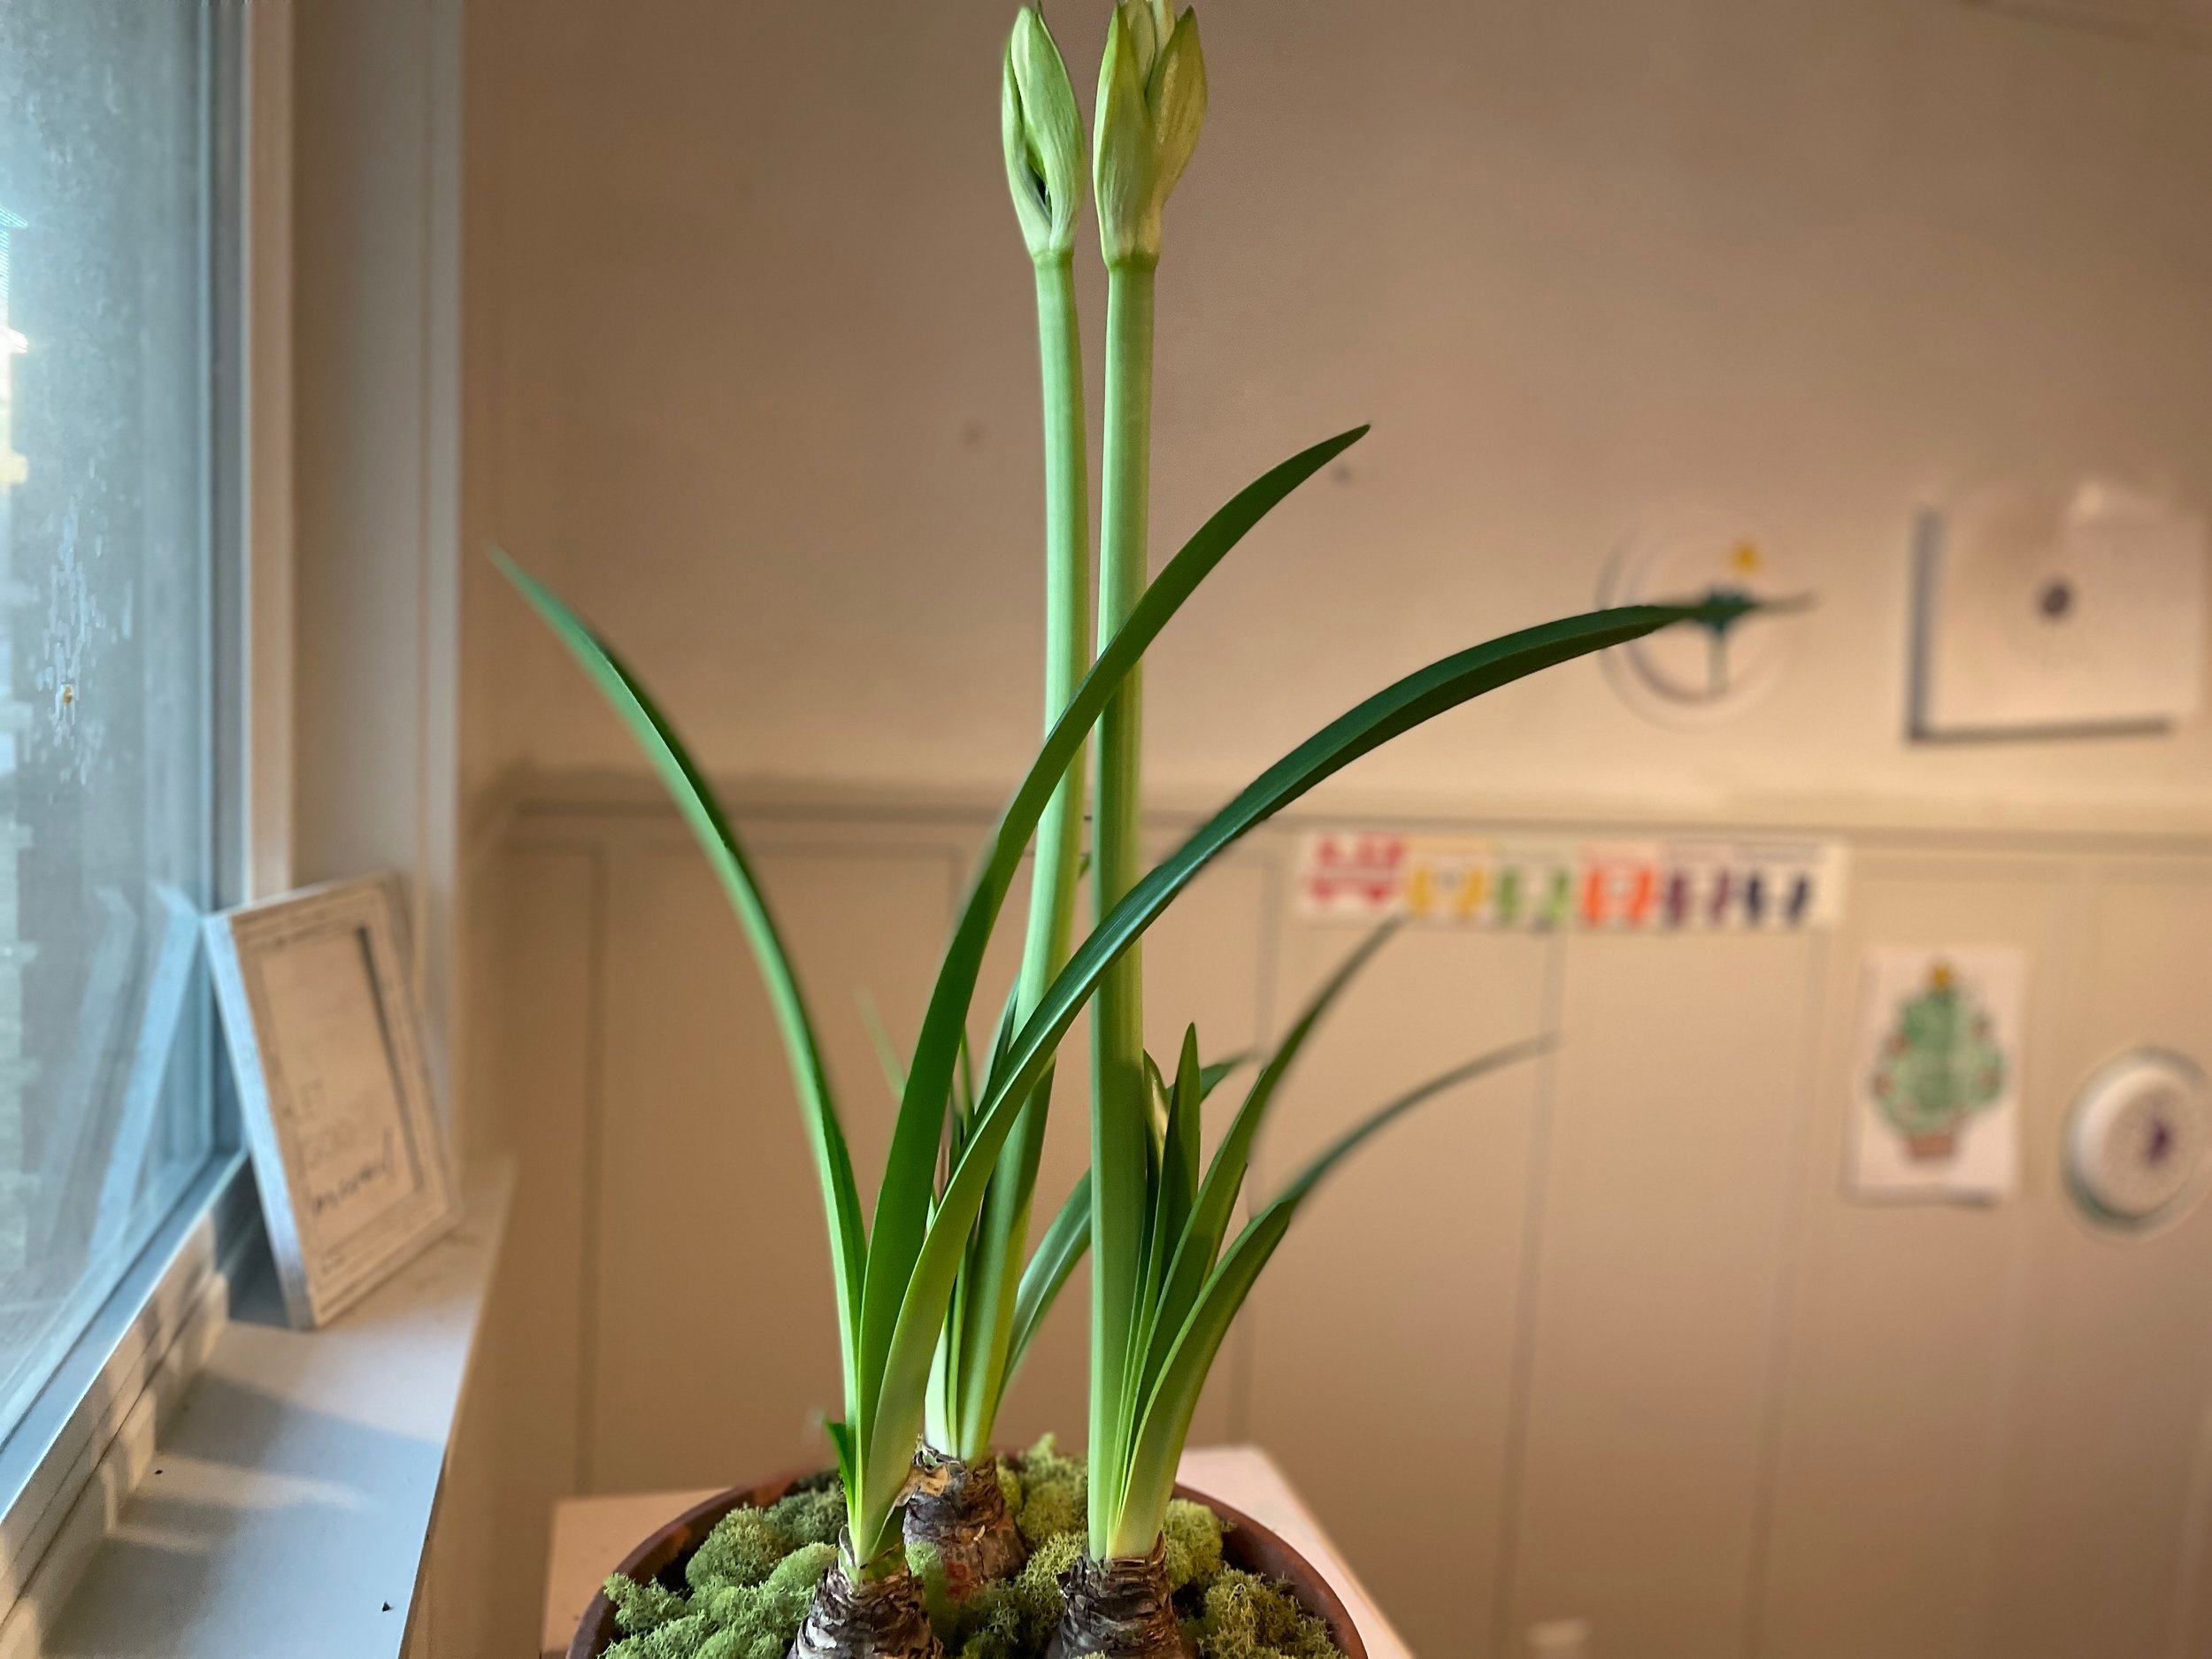
Soaking up the sun. These thrive in direct/indirect sun.
Below I will share the process to force your own amaryllis bulbs indoors. It is not a complicated process and if you start early enough and are a bit lucky, you can have blooms around Christmas time.
Step 1
Buy your bulbs. You will start seeing amaryllis bulbs popping up around fall. I bought my bulbs from a local nursery around mid-October. You can also buy them online. They usually take around 6-12 weeks to get your first blooms. I know it is varied, but bulbs have a mind of their own and will bloom when they are ready. Mine took ten weeks from the time I planted them until they bloomed.

The delicate detail was hard to capture in a photo.
Step 2
Planting your bulbs in soil. I bought a 12-inch well-draining terra cotta pot to plant my three (quite large bulbs). I recommend a heavy enough pot to support the weight on the tall stems and blooms. If you are only planting one bulb, a 5-6 inch diameter pot should work. Once your pot and soil is purchased (miracle grow potting soil worked great), you want to plant your bulbs one inch apart from each other, and plant them 2/3 depth, leaving the top 1/3 exposed. I filled my pot with soil to the top of the rim, and the amaryllis bulbs were sitting above the rim. The soil was loose to help the roots spread and grow without restraint.

Potted in Miracle Grow soil.
Step 3
Watering your bulbs. This is simple. The number one rule when watering your amaryllis bulbs is too NEVER water the tops. This can cause root rot, disease, and death. Water at the base of the bulbs. I gave them a nice soaking when first planted, and let the water drain out through the base. At first, do not water very much until new growth forms. When you start to see growth, you water a bit more because the leaves require more water. Water thoroughly, let it dry out for several days, and water again. Check on them periodically and water accordingly. Repeat this process until you see the blooms. I made sure to err on the side of caution and underwater, rather than overwater because I find they can handle drying out some.

Sunny days in winter.
Step 4
Providing light for my bulbs. Put your amaryllis bulbs in a bright location. I put mine in front of a south facing window on a dresser. It received a lot of nice bright light and warmth especially on sunny days. You can also put them on or near windowsills. Once in bloom, I relocated to my kitchen counter and away from the bright, direct sunlight. This encourages longer bloom time. My amaryllis blooms lasted a week. Although a week seems short, they were spectacular enough to make it well worth it.

Plus toilet paper, in case these bring you to tears. 😄
Amaryllis bloom aftercare and storage to get blooms for wintertime and Christmas.
1. Remove spent blooms and cut the flower stalk down ½ inch above the base of the bulb, and keep the leaves intact. Keep them watered and fertilized indoors.
2. If desired, you can plant them outdoors when your frost season has passed. (For me that is June) or keep them indoors in a bright, sunny location. For the first week, plant them in a shadier area to adjust to the sunlight and heat. Once they have adapted a bit to the outside you can put them in a full sun or part sun location in your flowerbed or keep them in your well-draining pot. Make sure the outside temperatures are above 50 degrees F. I would recommend putting them outside for the best results.
3. Over the next 4-6 month period, the plants are going through the process of photosynthesis, storing and providing nutrients to the bulb, in preparation to grow more blooms during the winter months. If this process is rushed, the result can evidence itself with only stems and no blooms.
4. Depending on when you want blooms, stop watering your amaryllis bulbs around august and let the pot or bulbs dry out. The leaves will start to turn yellow (like tulips in spring). At this point, cut the leaves down about ½ inch above the base.
5. Forced amaryllis bulbs need a dormancy period. After the leaves have turned yellow and have been cut down, bring the bulbs indoors and place in a cool, dark, area around 50-55 degrees. Store and let them sleep without water for about 8-10 weeks.
6. Once they have been dormant long enough, clean up the amaryllis bulbs by removing any dead foliage or skin. Plant in fresh soil and start the process all over again.

Huge 7” blooms!
I hope I answered any questions you may have regarding amaryllis bulbs indoors. It is such a fun process. I know you will have success in growing your own. Check out my videos showing these beauties from beginning (click HERE for the before video) to end (click HERE for the bloom video.)
- The Flower Fanatic